DIY Stuffing Mix: Not Just for Thanksgiving

DIY Stuffing MixMy favorite part of Thanksgiving dinner is the stuffing. Maybe the pumpkin pie, too but mostly the stuffing. The meal is simply incomplete without it. I make a big batch every year and there’s always plenty of leftovers. This is one time I don’t worry about it because not a crumb will go to waste.

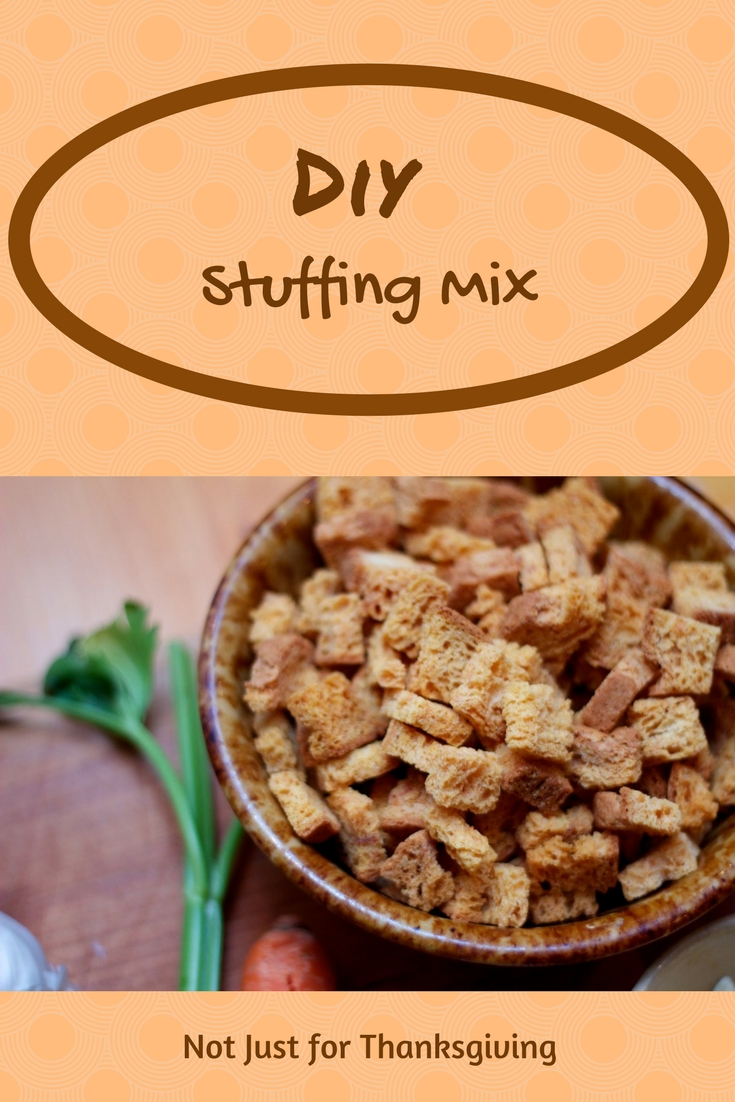
Bread stuffing is just too good to only have once a year. There are alternatives to homemade but packaged stuffing mixes are just short of awful, in my never humble opinion. They are loaded with salt and little else. In their defense, they are convenient.

A weeknight dinner doesn’t lend itself to lots of time-consuming cooking in most households. Even in my retirement, when time is not at such a premium, I don’t want to spend a lot of time on dinner. There are simply too many other things to do. That doesn’t mean I don’t want good food. It’s why I love this mix. It takes a couple hours to make but most of that time is waiting for the bread to dry in the oven.

I use the French or Italian bread I find on the clearance racks at the store. It’s usually half the price of a fresh loaf and perfectly good for this mix. Cubing the bread is a little tedious, but worth the effort.

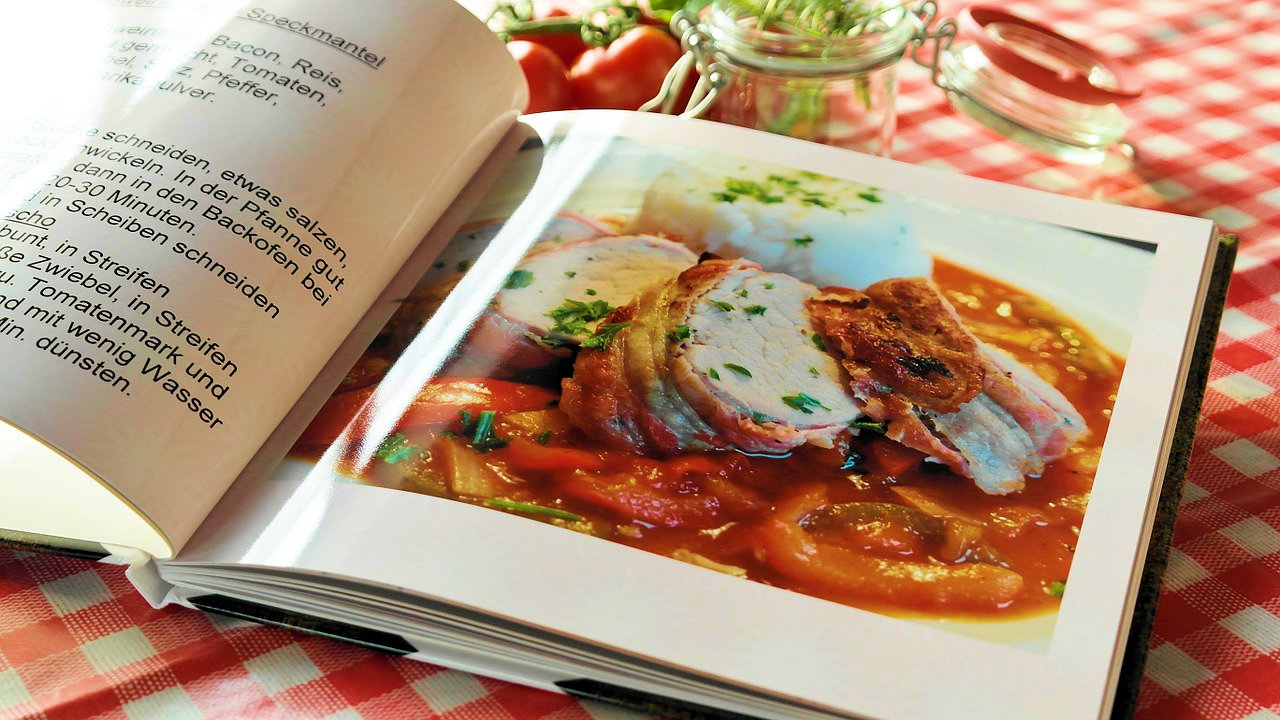
This recipe comes from the book Make-A-Mix by Karine Eliason, Nevada Harward, & Madeline Westover. If you like DIY mixes, it’s worth the effort to find a copy. I have to admit that mixes fascinate me and I’ve written about them before:

Five Frugal Things I’ve Done This Month

The Baking Mix Scoop

The original recipe calls for adding dried onions to the mix. I made them optional in my version because, if I make it for stuffing a chicken or a side dish, I want to add fresh onions to it. If I use it as part of a recipe, then it’s easy to add a bit of dry onion.

Herbed Stuffing Mix


30 slices firm-textured bread, cut in 1/2 inch cubes
2/3 cup cooking oil
3 tablespoons instant minced onion (optional)
3 tablespoons dried parsley
2 teaspoons garlic salt
3/4 teaspoon ground sage
1/2 teaspoon pepper

Preheat oven to 300 degrees. Put bread cubes in two 13×9 baking dishes. Toast the bread in the oven, stirring occasionally. Remove from oven and cool slightly.
Drizzle oil over bread cubes. Add onion (if using), parsley, garlic salt, sage, and pepper. Toss to combine.
Store in an airtight container. Use within 3-4 months.

The following is straight from the Make-A-Mix book. I’m sure you would only need half of this recipe to stuff a chicken.

Supper Stuffing


3/4 cup water or broth
7 cups Herbed Stuffing Mix
6 tablespoons butter or margarine
1 onion, diced
4 large stalks celery, chopped

In a large bowl, moisten stuffing mix with liquid.
Melt butter in a medium skillet. Saute onion and celery until tender. Combine with stuffing mix and toss lightly.
Mixture can be baked in a lightly buttered casserole for 30 minutes at 350 degrees.

What mixes do you like to have in the pantry? Please leave a comment.

When You Don’t Have a Maple Tree Handy…

Homemade maple-flavored syrup. Who knew? I ran across this idea in my frugal travels around the internet. It just wasn’t one of the things in my experience database. I don’t remember what we used as a child because I think that pancakes were a rare thing in our house. I do know that, when I grew up, I liked jam on pancakes better than syrup.

My local store carried maple extract in the baking aisle, so I gave it a try. It’s nowhere near the real thing. It tastes fine, easily as good as any of the maple-flavored syrups from the store. (Maybe I’m not the best judge of that, though) It is, however, quick and easy to do and there’s a bit of cost savings, too.

I used brown sugar but if you want a lighter color, use regular white sugar. Most of the recipes I found online used white sugar. One used a combination of white sugar and brown sugar and one used corn syrup as the sweetener. I think any way you do it, it will be good stuff to pour on the pancakes.

pancakes

Quick Maple-Flavored Syrup

2 cups water
4 cups brown sugar
2 teaspoons maple extract

In a non-reactive pan, bring water to a rapid boil.
Mix in brown sugar all at once. Stir until it is completely dissolved.
Remove from heat and stir in maple extract.
Pour into a sterilized jar and allow to stand, at room temperature, for 24 hours.
Store in the refrigerator for up to 6 months.

Cook Like No One is Watching

cookbook-746005_1280

Cooking at home is critical to a frugal lifestyle. There are few instances where purchasing something pre-made will be less expensive than making it at home. Perhaps more important than cost, is that there aren’t mystery ingredients in homemade food. You hold more control over what you and your family eats.

So, if you feel that you could use a boost in your kitchen skills, check out these sites. There are many tutorials to help learn a new skill or improve your techniques. I have found that I prefer my own cooking now, over a restaurant meal, since I started improving my cooking skills. I hope all of you can find the same.

flame-580342_1280

UK Cooking Expert Delia Smith

Arizona Central Offers Basic Lessons

Chef 2 Chef: Learn from Pros

Some Free Classes from Craftsy

Pork Chops for Two

Another effort to combat the problem of leftovers is to repackage items that you buy into smaller sizes. In this case, I wrapped pork chops from a larger package individually. When it’s time to cook, I can take out what I need.

This is an easy, inexpensive recipe for two that is quick to prepare.
porkchops

Pork Chops for Two

  • Difficulty: easy
  • Print

1 tablespoon olive oil
2 pork chops
Salt and pepper to taste
1 green pepper, sliced
1 small onion, sliced
1 teaspoon dry basil

Heat oil in a small skillet over medium high heat. Season pork on both sides with salt and pepper. Cook pork chops until browned on both sides.
Top chops with green pepper, onion and basil. Cover skillet, reduce heat and cook until vegetables are tender and pork is cooked through.

Yo, Yogurt

Being an adult requires that you do things you would rather not do. My father used to say that he ate his vegetables so the kids would eat theirs. He had a life-long dislike of most vegetables, but he also knew that his kids would mimic his disdain, even if we didn’t dislike vegetables.

For me, one of the things I do because I should is eat yogurt. I don’t really like it, but there are rewards that are hard to duplicate.
WebMD.com lists six yogurt benefits:

  • Yogurt with active cultures may help the gut
  • Some probiotic strains may boost the immune system
  • Yogurt with active cultures may discourage vaginal infections
  • Yogurt may help prevent osteoporosis
  • Yogurt may reduce the risk of high blood pressure
  • Yogurt may help you feel fuller

When I started eating yogurt daily, I reached into the refrigerator for the individual cups that I bought each week. I made sure I had several flavors to keep it interesting. Once I tried Greek yogurt, I was hooked, but the cost of those little cups was a concern.
Making yogurt at home isn’t difficult but what about Greek yogurt? What is the secret to that? Not much of a secret really. Greek yogurt has been drained of whey. That’s it. No magical process. No special ingredients.
So, what does it take to make yogurt? There are a number of recipes to choose from online, but this is what I use:

yogurtingredients

  1. 1 quart milk
  2. ½ cup dry milk powder
  3. 2 tablespoons plain yogurt

I bought a large container of plain yogurt to use as the starter culture. I froze individual portions to save them. Now, when I make a batch of yogurt, I take one cube out and allow it to thaw while the milk is heating and cooling.
It doesn’t matter what kind of milk. Use skim, 2% or whole milk. All kinds will work. The milk powder adds more milk solids to the mix and produces a thicker yogurt.
When it’s done, flavor your yogurt in any way that suits you. I put in a spoonful of jam. Honey would be good, as well. Put in nothing, if you can stand it.
I have to admit, I like my home-made yogurt better than anything I can buy at the store.

Homemade Yogurt


1 quart milk
½ cup dry milk powder
2 tablespoons plain yogurt
Mix powdered milk into the milk in a sauce pan. Using a candy thermometer, heat the milk mixture until the temperature reaches 180 degrees. Remove from heat and allow to cool to 115 degrees. Spoon out approximately ½ cup of the warm milk and whisk it with the yogurt starter. Add this mixture back into the milk and mix throughly. Incubate from 4 to 12 hours until thickened.

The yogurt can be left in the same pan to incubate or put into a jar or bowl. I leave mine in the same pan I used to heat the milk and it works just fine.
To incubate, I heat up the oven to the lowest setting and then turn it off.

yogurtoven

The pan is wrapped in a towel before I put it into the oven and I leave it in place for about 6 hours.


yogurtcheesecloth

When the yogurt is thick, I put the batch in a colander, lined with cheesecloth, to separate the whey. Now, it’s Greek!

What to do with the whey is a work in progress. I’ll get back to you on that.


Nary a Chocolate Bunny Was Found

marshmallows

This year’s Easter basket was filled with homemade marshmallows. No chocolate bunnies. No jelly beans. Just marshmallows.

It isn’t that I don’t like chocolate bunnies and jelly beans. I do but, like everything else at the store, the cost of candy is pretty steep and I thought I could save a little money by doing my own.

I’m not new to making candy. I’ve made peanut brittle every Christmas for more years than I can remember. I have also made caramels, peppermint bark, fudge, gum drops and more to round out the candy tray.

Most people bake for the holidays. Baking has never been my thing. I make too much of a mess because something always happens to the flour. Some mysterious force always flips the measuring cup over or poufs it out of the mixer bowl all over me. It isn’t IF I’m going to make a mess while baking, it’s WHEN.

Candy is a bit neater because there is no flour involved. It is, however, easier to burn and I’ve done that too often. Nothing smells quite like burnt sugar in the morning.

Making candy doesn’t need to be limited to the holidays. Someone somewhere has developed a recipe for just about any kind of candy you can think of. I used this recipe for peanut butter cups, substituting candy melts for the chocolate bar. They’re good.

peanutbuttercups

Some other interesting candies I intend to try soon:

Copycat Snickers® bars
Copycat Three Musketeers® bars
Copycat Heath® bars
Copycat Almond Joy® bars

I’ve never made a candy bar but I’m up for the challenge. What could possibly go wrong? There’s no flour.

Cooking Like a Copycat

A few years ago, we decided that eating at most restaurants wasn’t really worth the money. Yes, it was nice not to cook. Yes, it was nice to go out, but the food wasn’t the central focus of the event. Of course, restaurant meals are no way to cut the food budget and, if it isn’t good, why bother.

Copycat recipes can replace the food that is missed by cooking at home instead of eating out. Last week, I tried one of my husband’s favorites–Jack-in-the-Box tacos. I tried to follow this recipe, but I didn’t have everything listed. I had to make refried beans and, of course, they don’t taste like those from a can. I didn’t have the specific taco sauce called for in the recipe, so I used what I had on hand. I’ve never had a Jack-in-the-Box taco, but I thought they tasted fine. The expert, my spouse, said they tasted fine but were nowhere near the real thing. I guess I’ll have to go out for a taco dinner to know for sure.

Buddy

If you miss some of your favorites, there is a recipe for just about any restaurant dish: