Having mixes in the pantry are great if I remember to use them. The Stuffing Mix seemed the perfect choice for binding meatballs and it’s already seasoned, so it’s quick and easy to use.
1 cup stuffing mix
1/4 cup milk
1/2 pound ground beef
1 egg
1 14.5 ounce can beef broth
3 tablespoons butter
1/4 cup all purpose flour
1 teaspoon Dijon mustard
1 teaspoon Worcestershire sauce
Salt and pepper
2 tablespoons cream
Preheat oven to 350 degrees
In a medium bowl, beat together milk and egg. Add stuffing mix and set aside until bread cubes have softened.
Add ground beef to bowl and mix completely. (Hands are the best tool for this)
Shape mixture into 1 inch balls and place into a baking dish. Bake until browned and no longer pink.
In a medium sauce pan, melt butter. Add mustard to melted butter and whisk together. Whisk in flour until smooth.
Pour in broth and whisk until blended. Cook over medium-high heat, stirring continually, until the mixture boils. Reduce heat and continue to cook for 1 minute.
Stir in Worcestershire sauce and season with salt and pepper to taste.
Remove from heat and add cream. Stir thoroughly.
Serve meatballs over mashed potatoes, pasta or rice. Top with gravy.
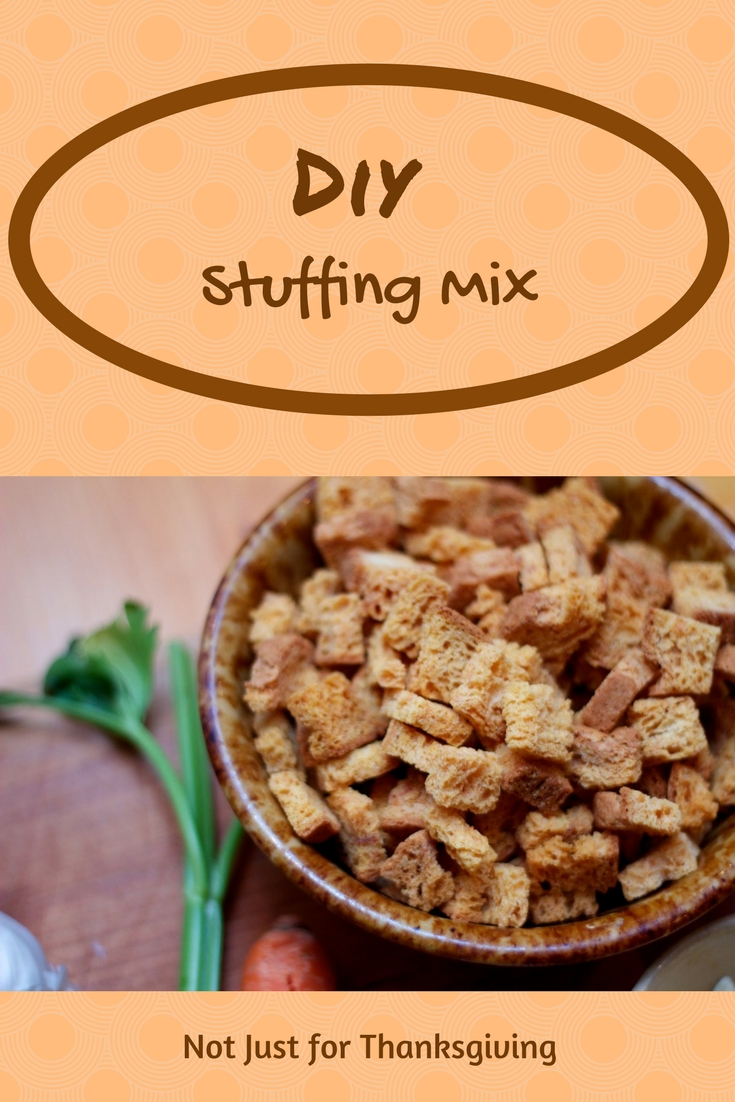
My favorite part of Thanksgiving dinner is the stuffing. Maybe the pumpkin pie, too but mostly the stuffing. The meal is simply incomplete without it. I make a big batch every year and there’s always plenty of leftovers. This is one time I don’t worry about it because not a crumb will go to waste.
Bread stuffing is just too good to only have once a year. There are alternatives to homemade but packaged stuffing mixes are just short of awful, in my never humble opinion. They are loaded with salt and little else. In their defense, they are convenient.
A weeknight dinner doesn’t lend itself to lots of time-consuming cooking in most households. Even in my retirement, when time is not at such a premium, I don’t want to spend a lot of time on dinner. There are simply too many other things to do. That doesn’t mean I don’t want good food. It’s why I love this mix. It takes a couple hours to make but most of that time is waiting for the bread to dry in the oven.
I use the French or Italian bread I find on the clearance racks at the store. It’s usually half the price of a fresh loaf and perfectly good for this mix. Cubing the bread is a little tedious, but worth the effort.
This recipe comes from the book Make-A-Mix by Karine Eliason, Nevada Harward, & Madeline Westover. If you like DIY mixes, it’s worth the effort to find a copy. I have to admit that mixes fascinate me and I’ve written about them before:
The original recipe calls for adding dried onions to the mix. I made them optional in my version because, if I make it for stuffing a chicken or a side dish, I want to add fresh onions to it. If I use it as part of a recipe, then it’s easy to add a bit of dry onion.
30 slices firm-textured bread, cut in 1/2 inch cubes
2/3 cup cooking oil
3 tablespoons instant minced onion (optional)
3 tablespoons dried parsley
2 teaspoons garlic salt
3/4 teaspoon ground sage
1/2 teaspoon pepper
Preheat oven to 300 degrees. Put bread cubes in two 13×9 baking dishes. Toast the bread in the oven, stirring occasionally. Remove from oven and cool slightly.
Drizzle oil over bread cubes. Add onion (if using), parsley, garlic salt, sage, and pepper. Toss to combine.
Store in an airtight container. Use within 3-4 months.
The following is straight from the Make-A-Mix book. I’m sure you would only need half of this recipe to stuff a chicken.
3/4 cup water or broth
7 cups Herbed Stuffing Mix
6 tablespoons butter or margarine
1 onion, diced
4 large stalks celery, chopped
In a large bowl, moisten stuffing mix with liquid.
Melt butter in a medium skillet. Saute onion and celery until tender. Combine with stuffing mix and toss lightly.
Mixture can be baked in a lightly buttered casserole for 30 minutes at 350 degrees.
What mixes do you like to have in the pantry? Please leave a comment.
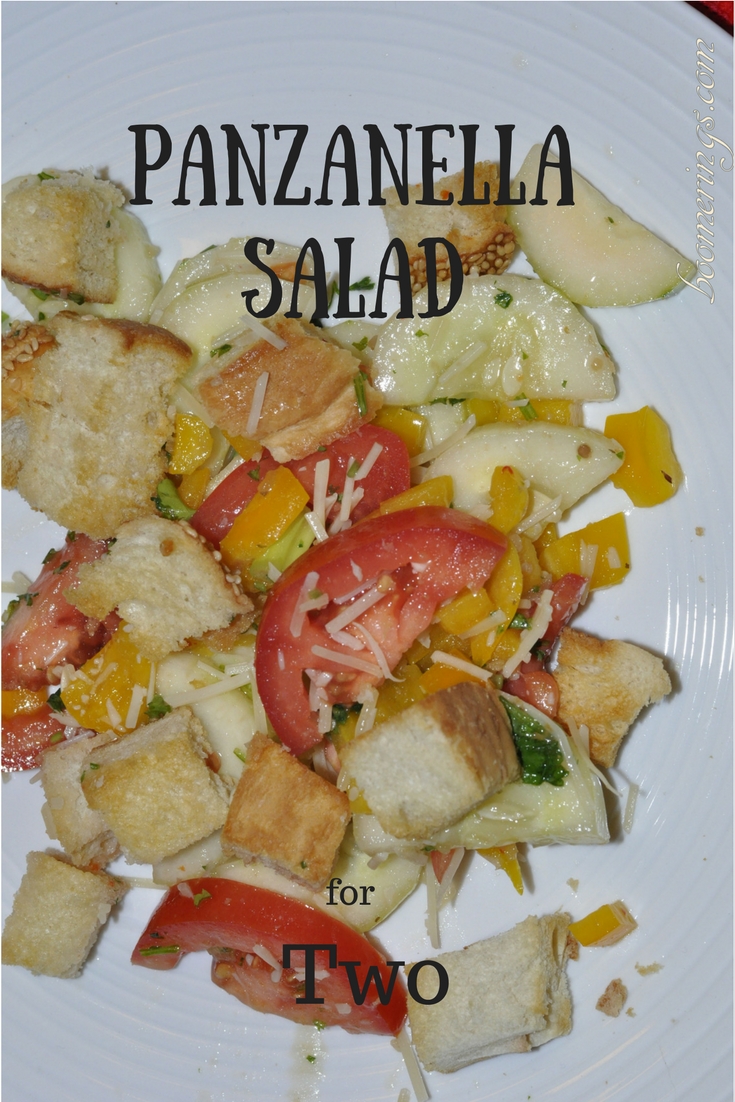
Panzanella Salad is a delicious mix of tomatoes, cubes of crusty bread, and a rich dressing. Does it surprise us that this salad, that has been around since the 14th century, didn’t originally include tomatoes. A previous post about a bit of tomato history is here. It just wasn’t that tomatoes weren’t available in Europe until the 16th century, they were suspect as a food source long after. The first references to this salad described it as a mix of onions and stale bread. The recipe of that time consisted of pieces of bread soaked in water and vinegar and then tossed with any fresh vegetables that were available. Onions have long storage time and were often the freshest produce around. That doesn’t really sound that appetizing but with the reputation of the tomato, who am I to judge?
In the middle ages, bread was a staple of life and a precious resource for families. Most households did not have an oven inside their residence. People had to use the communal ovens in their village to bake bread for their tables. Oven space was finite, so bread was baked only when ovens were available. Couple this with the inability to store the bread well and the loaves often became stale before the next baking day. Panzanella salad is thought to be a way that people of that time used their stale bread so that it wasn’t wasted.
The tomato remained absent from this salad until the twentieth century when availability was increased and superstition was decreased. Not only is this salad a good repository for leftover bread but any fresh vegetables in the refrigerator can be added. So in keeping with the concept of Don’t Toss It-Eat It, use any leftover bread you have on hand, such as, the last of the dinner rolls, the remainder of a loaf of bread too large for your family, or the heels that no one wants. Toast them for Panzanella instead of tossing them.
2 cups fresh bread cubes
1 cucumber, sliced
2 Roma tomatoes, sliced
1 Bell pepper (any color), diced
2 green onions, thinly sliced (white and green parts)
2 TBS chopped parsley
1/4 cup Italian dressing
1 TBS lemon juice
1/4 cup grated Parmesan[/recipe ingredients]
Heat oven to 350 degrees. Place bread on a baking sheet and bake until crisp. Combine vegetables in a large bowl. Mix lemon juice and dressing. Pour over vegetables and toss until coated. Add bread cubes and toss to combine. Serve immediately. Note: For an extra punch of lemon, add the zest from one lemon to the salad.
Living frugal is a lifestyle and I have been doing this a very long time. When I look back at things that I’ve done, it’s sometimes hard to remember frugal activities because they are so much a part of my everyday living. Here are just 5 of the things I’ve done this month.
1. New mixes for the pantry
Mixing spoons
I love mixes. I love homemade mixes even more.
The first mix was for ranch dressing. Yum! It’s really good and so easy to do. I found this same recipe on several websites, so I can’t say for sure where I first located it.
In a medium bowl, whisk all dry ingredients together until well combined. Store mix in an airtight container in the refrigerator.
To use: Mix together 1/4 cup ranch dressing mix, 1 cup mayonnaise, 1/2 cup sour cream, and 1/2 cup milk. Blend thoroughly.
The second mix I found Cooperative Extension Department at Utah State University. (This link will open a pdf file) I have used the SOS mix several times instead of canned soup and the recipes have come out very well. The cool thing is all the recipes that come with the basic mix. It really shows you how to use this mix.
2 cups powdered, non-fat milk
3/4 cup cornstarch
1/4 cup instant chicken bouillon
2 tsp Italian seasoning (optional)
Directions
Combine 1/3 cup of dry mx with 1 1/4 cup of cold water. Whisk until thoroughly blended.
Cook and stir until thickened. (Stovetop or microwave)
Add to recipes as you would a can of cream soup.
2. Remembered the dollar store
I started giving my daughter a Valentine card when she was a little girl. She’s well into her thirties now, and I still get her a Valentine. We all know how expensive greeting cards can be but not at the dollar store. The savings is worth the trip. Plus, there’s a lot of other cool things at that store worth investigation.
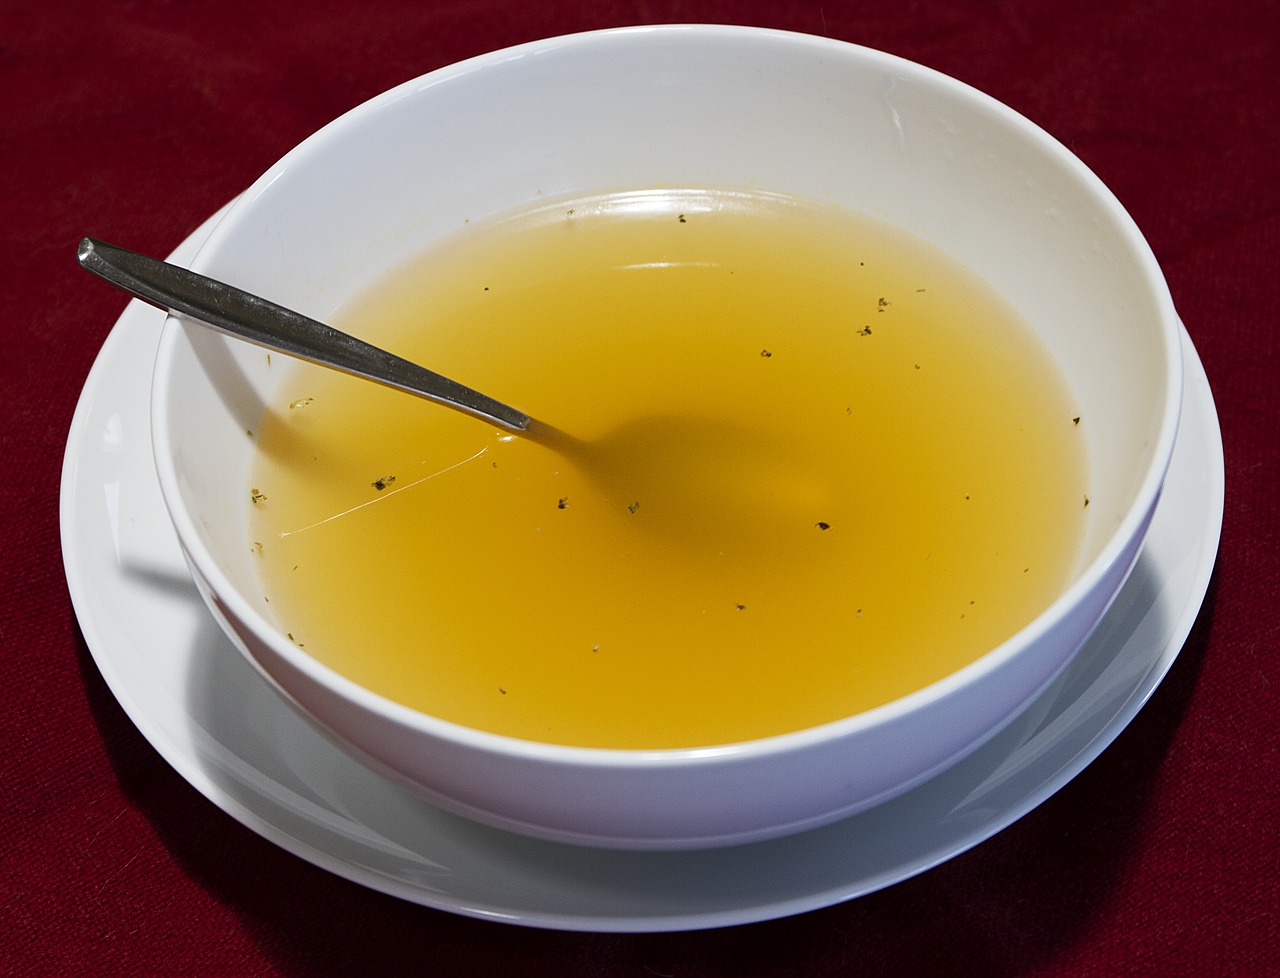
3. Made broth
Homemade Broth
I’ve made chicken broth many times but not with any regularity. A few months ago, I bought and Instant Pot. Of course, I read all kinds of things online about using my new gadget and one of the things I found was making broth. Now, I purposely make broth. I buy whole chickens, roast them, pull the meat from the bones and make broth from the carcasses. The leftover rotisserie chicken can also be used for broth. Of course, beef, pork, or turkey all make excellent broth.
Also, I’ve started saving vegetables in a freezer bag for vegetable broth. I’ve made one batch so far, and I’m pleased with the results. I put leftover vegetables, peels from carrots and potatoes, and little bits and pieces that result from preparing vegetables for a meal. It all goes in the pot and comes out wonderful broth. I bought 2 cup freezer containers (at the dollar store) to store my broth. The Instant Pot makes it easy to use frozen. Just thaw enough to remove from the container.
How to Make Instant Pot Broth
Put chicken or turkey carcass, beef or pork bones, or 4 to 6 cups of vegetable scraps into the Instant Pot. Fill with water to the 2/3 line. Set time for 1 hour at low pressure. Use natural release. Refrigerate broth overnight and then skim off any fat before storing.
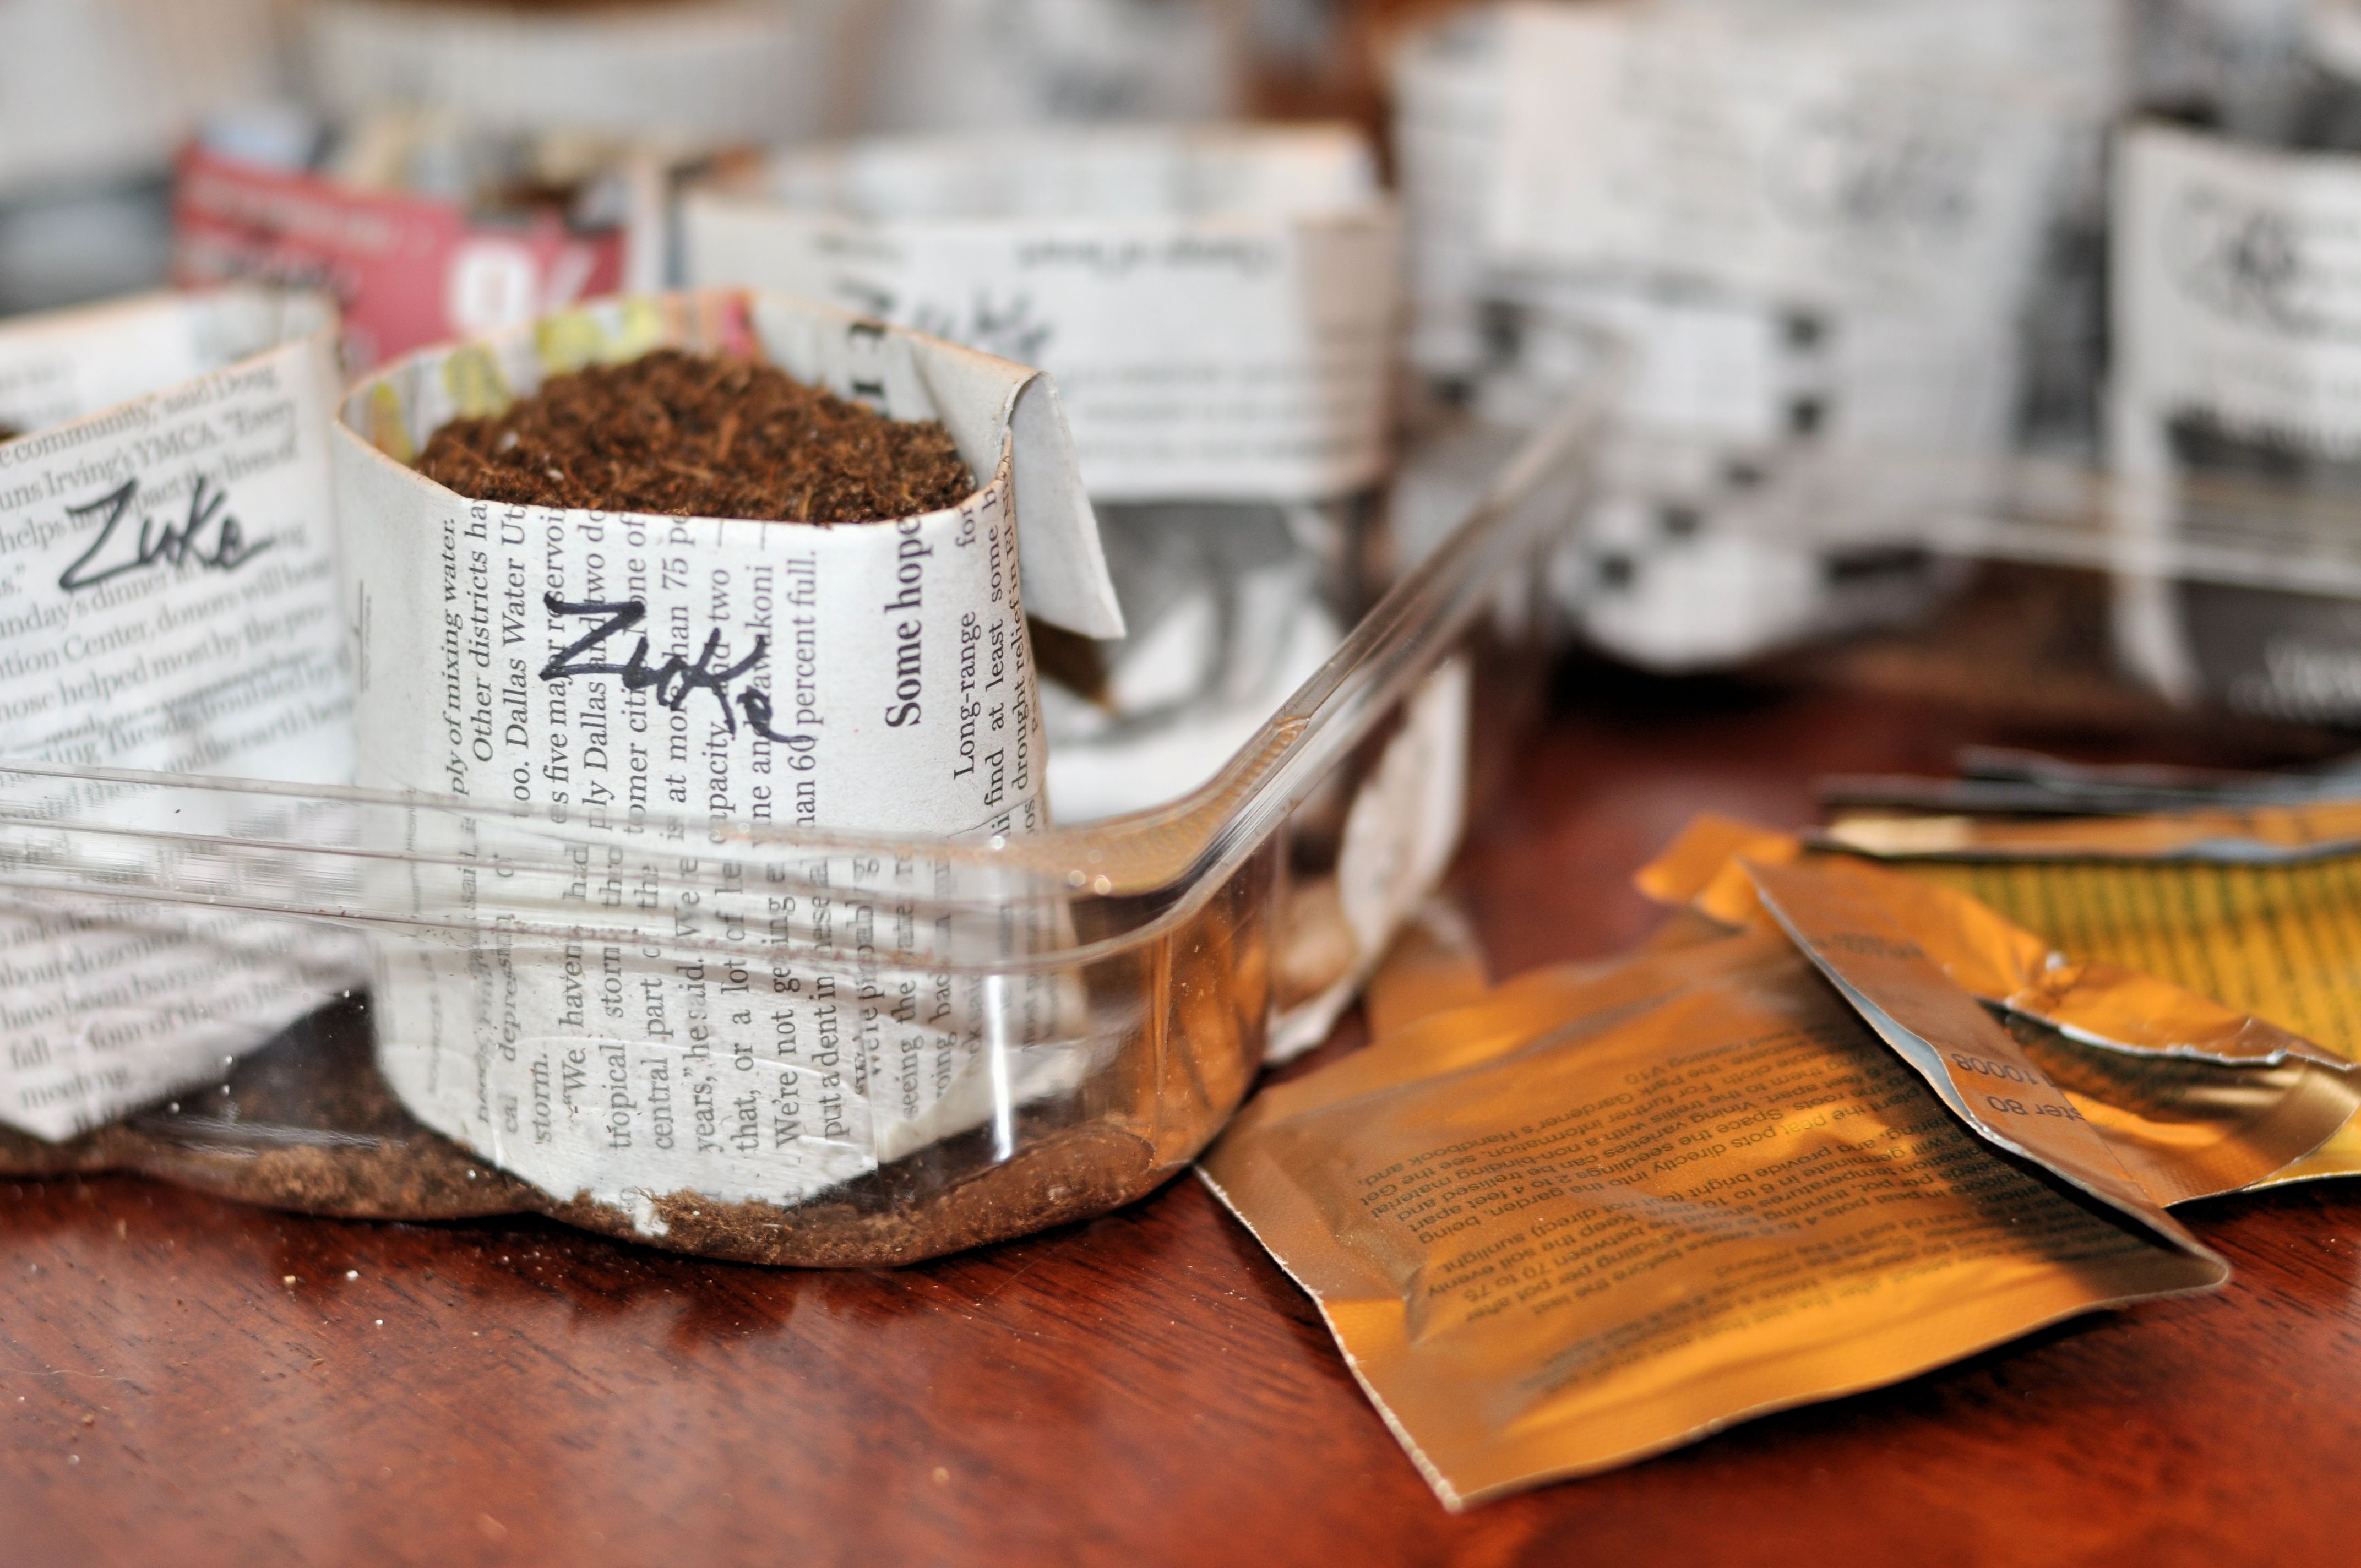
4. Started my garden seeds
Starting seeds for spring
Garden plants have become expensive. Spending $3 or more on a plant for the garden makes it more difficult to save money by gardening. I will still buy a few, but some are so easily started that it doesn’t make sense not to do it.
I first posted about starting seeds in Fearless Gardening. Make these useful seed-starter pots with these instructions here and here.
5. Shared a no-cost solution
I’m including this even though I didn’t save money by doing it. Someone close to me was paying a subscription site for audio books to listen to while she was jogging. I pointed her to her local library which has audio books available to borrow. This is about a $10 per month saving for her and a warm and fuzzy feeling about helping someone for me.
How did you live frugally this month? Be sure to leave a comment.
You are standing in front of the open door of your refrigerator when you spy a container near the back and you pull it out. Inside is a hairy, foul-smelling mess that was once food but now doesn’t resemble anything edible. We’ve all been there.
According to the Department of Agriculture (USDA), 30-40 percent of food in the United States is wasted. Astounding! Wasted food is also the single, largest component of our landfills. All of this waste costs approximately $165 billion each year. Imagine what we could do with that money.
According to the National Resources Defense Council (NRDC), a non-profit organization, the average American throws away 300 pounds of food each year which costs us about $2200. That is almost $200 per month of loss. Imagine what we could do with that money.
If food takes up 10-15 percent of our household budgets, it just doesn’t make sense to throw so much away. In the coming weeks, I’m going to offer some solutions I have used for taming the leftover monsters.
One of the ways to get started using leftovers is to notice what you always have left over. I know, obvious. In my effort to cook for two, I sometimes end up with a third serving. This usually is the result of using a whole can of something instead of a partial, which would just spoil in the refrigerator, I’m sure. One of the things I have done is to take that leftover serving to work as my lunch. Since I am now retired and I’m watching my calories, I don’t eat much for lunch anymore. So there the container sits.
To get started, here’s my recipe for Stuffed Pepper Soup. It seems I always have a little bit of rice leftover and it’s not very good reheated. It does work very well in soup. This recipe is also a good use of a green pepper that is a little wrinkled and, instead of canned tomatoes, over ripe tomatoes peeled and diced would work very well.
½ pound ground beef
½ cup diced onion
1 green pepper, diced
1 clove garlic, minced
1 14 ounce can beef broth
1 14 ounce can diced tomatoes, undrained
1/8 teaspoon Allspice
¾ cup cooked rice
Salt and pepper, to taste
Directions
Brown ground beef. Add onion, green pepper, and garlic. Sauté until tender.
Stir in tomatoes and beef broth. Add seasonings.
Simmer for 15-20 minutes until flavors have blended. If you have an Instant Pot, 5 minutes on high pressure is all you need for this soup.
Add in rice. Cook another 1-2 minutes to heat and soften rice.
What’s your favorite way to use leftovers? Be sure to leave a comment.
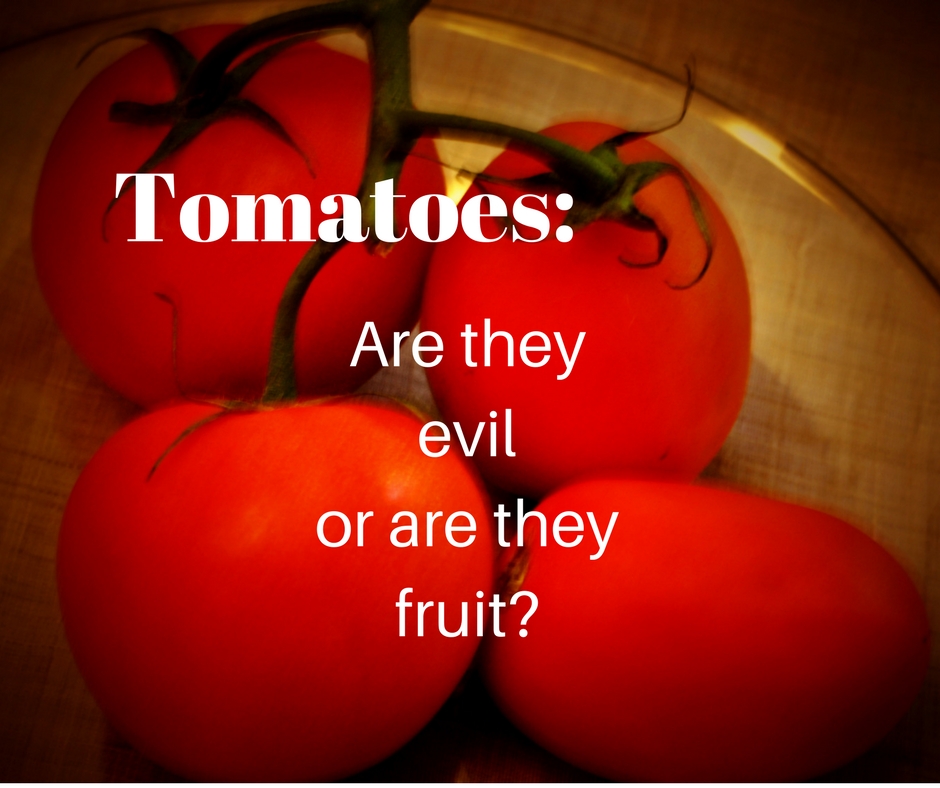
In 1521, the Aztec city of Tenochititlan came under the control of Hernan Cortez. It’s likely that the explorer was the first to bring tomato seeds back to Europe after the plant was found in what is now Mexico. The fruit we know as the tomato was called tomatl by the Aztecs and they were yellow rather than the classic red. Instead of using the newly arrived plants as a food source, many grew it in the garden as a spot of color.
The tomato was declared to be a poison apple in the 18th century. Someone made the observation that people who indulged in eating tomatoes died. Never mind that it was likely the lead poisoning caused by eating a highly acidic food from a pewter plate. Each bite of an 18th century Eggs in Purgatory delivered another dose of lead leached from their fine dinnerware.
Others were certain that the tomato had influence on human behavior. When the plant was classified as a mandrake, references from the Bible warned that the tomato could act as a love potion, triggering the nickname of love apple. I’m not at all sure why we should avoid something that brings us love. Being lumped into the Solanaceae family of plants didn’t bode well for the tomato. In that group, the tomato was also thought to be kin to Nightshade, which had hallucinogenic properties as well as an association with witchcraft.
Aside from its characteristics as an aphrodisiac and a hallucinogen, the humble tomato was also assigned supernatural powers. German folklore tells us that witches used the tomato to call werewolves. This practice of using the tomato to summon lycanthropes influenced the name of the plant species: Lycopersicon esculentum.
To top off its sullied reputation, the tomato was the subject of a Supreme Court case. In 1893, when the Court heard the case of Nix v Hedden, the fruit or vegetable argument was settled. It was to be considered a vegetable, even though it fit the definition of a fruit. Why, you might ask? Money. Vegetables were subject to tariffs and fruits were not.
In spite of its rocky past, Americans eat about 22 pounds of tomatoes every year. It shouldn’t surprise anyone that most of this consumption is the form of tomato sauce. All the ketchup and pasta sauce on our dinner table add up.
So, if you dare, indulge in pasta with a tomato-based sauce. Here’s hoping for the best!
1 medium carrot
1 celery rib
1/2 medium onion
1 clove garlic
28 oz can tomato puree
1/4 cup olive oil
Basil or oregano to taste
Directions
Using a food processor, finely chop the carrot, celery, onion, and garlic. Mix all ingredients in saucepan and simmer until vegetables are tender. Allow to cool and return to food processor. Blend until sauce is smooth. (Optional) Add seasoning as desired.
6 ounces pineapple juice
1 large egg, lightly beaten
1/3 cup milk
4 tablespoons butter
1 teaspoon salt
1/3 cup sugar
3 1/2 cups flour
2 1/4 teaspoons active dry yeast
Additional butter, melted, for brushing tops of rolls (optional)
Bring all ingredients to room temperature.
Add ingredients to bread machine in the order recommended by the manufacturer.
Set machine to the dough cycle. When complete, remove dough from machine and divide into 12-15 rolls. Place into a greased 9 x 13 baking pan. Cover with a towel and let dough rise in a warm place until doubled in size. (about 1 hour)
Preheat oven to 350 degrees. Bake rolls for 25 minutes or until tops are golden brown. Remove from oven and immediately brush with melted butter.
I’ve been making yogurt for about a year. I like the texture of Greek-style yogurt, so I drain the whey from the mixture. The problem is what to do with the whey. I did try replacing the liquid in a bread machine recipe with the whey. It was OK but not great. The bread was a bit dense.
Somewhere online, I found that whey could be substituted for buttermilk, so I tried this route by making buttermilk biscuits. They were tender and flavorful, so I think this was a success.
2 cups unbleached, all-purpose flour
1/4 teaspoon baking soda
1 tablespoon baking powder
1 teaspoon salt
6 tablespoons unsalted butter, cold
1 cup whey
Pre-heat oven to 450 degrees F.
Combine dry ingredients in the bowl, or in the bowl of a food processor.
Cut butter into flour mixture until it resembles coarse meal. If using a food processor, pulse until reaching the proper consistency.
Add whey and mix until moistened.
Turn the dough out onto a floured board and gently pat the dough until it is approximately 1/2” thick. Fold dough over several times and pat out again until it is 1” thick.
Using a round cutter, cut out biscuits and place on a cookie sheet. For soft-sided biscuits, place the rounds close together.
Bake for 10-12 minutes until light, golden brown.
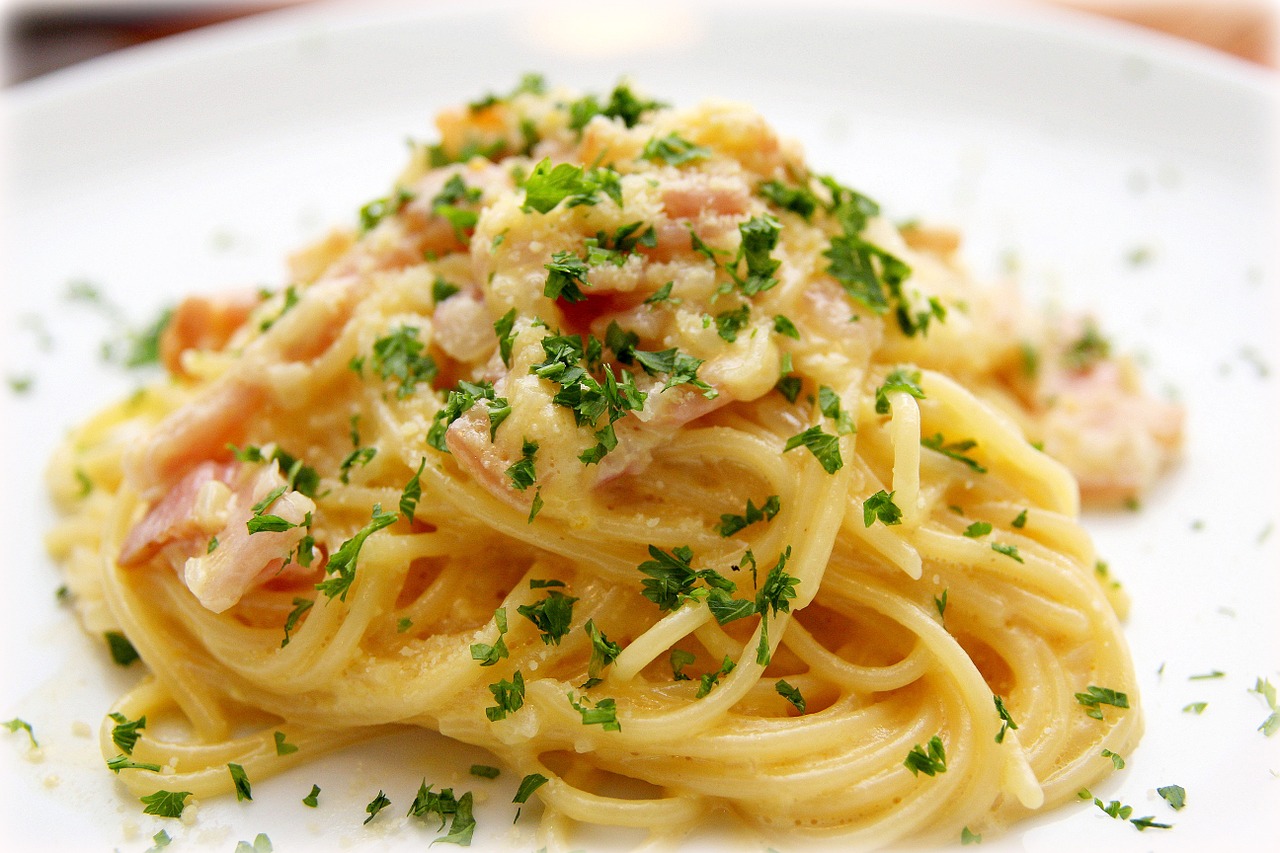
There is something to say for having a few meals in the pantry for those times when you can’t think of what to fix or when your time is short.
This easy carbonara for two requires only 6 basic ingredients. (Seven if you want to add a handful of peas) It might be argued that this really requires 8 ingredients if you count the salt a pepper. OK. So maybe it’s 8 instead of 6. Still, not many ingredients and they are all things I keep on hand.
4 ounces spaghetti
1 clove garlic, minced
2 strips bacon, diced
1 large egg
1/4 cup grated Parmesan cheese, plus extra for topping
2 tablespoons chopped parsley
1 cup frozen peas, thawed (optional)
Salt and pepper to taste
Bring salted water to a boil in a large sauce pan. Cook spaghetti according to package directions. Reserve 1/2 cup cooking water; drain well.
In a small bowl, whisk together egg and 1/4 cup Parmesan. Set aside.
Meanwhile, cook bacon in a skillet, over medium heat, until crisp. Remove and drain on a paper towel. Reserve drippings.
Saute garlic in drippings until fragrant. About 1 minute.
Add pasta to skillet. Working quickly, stir in egg mixture. Add reserved pasta water a small amount at a time until it is smooth and creamy. Fold in bacon, parsley and peas, if using, and top with additional Parmesan. Serve immediately.
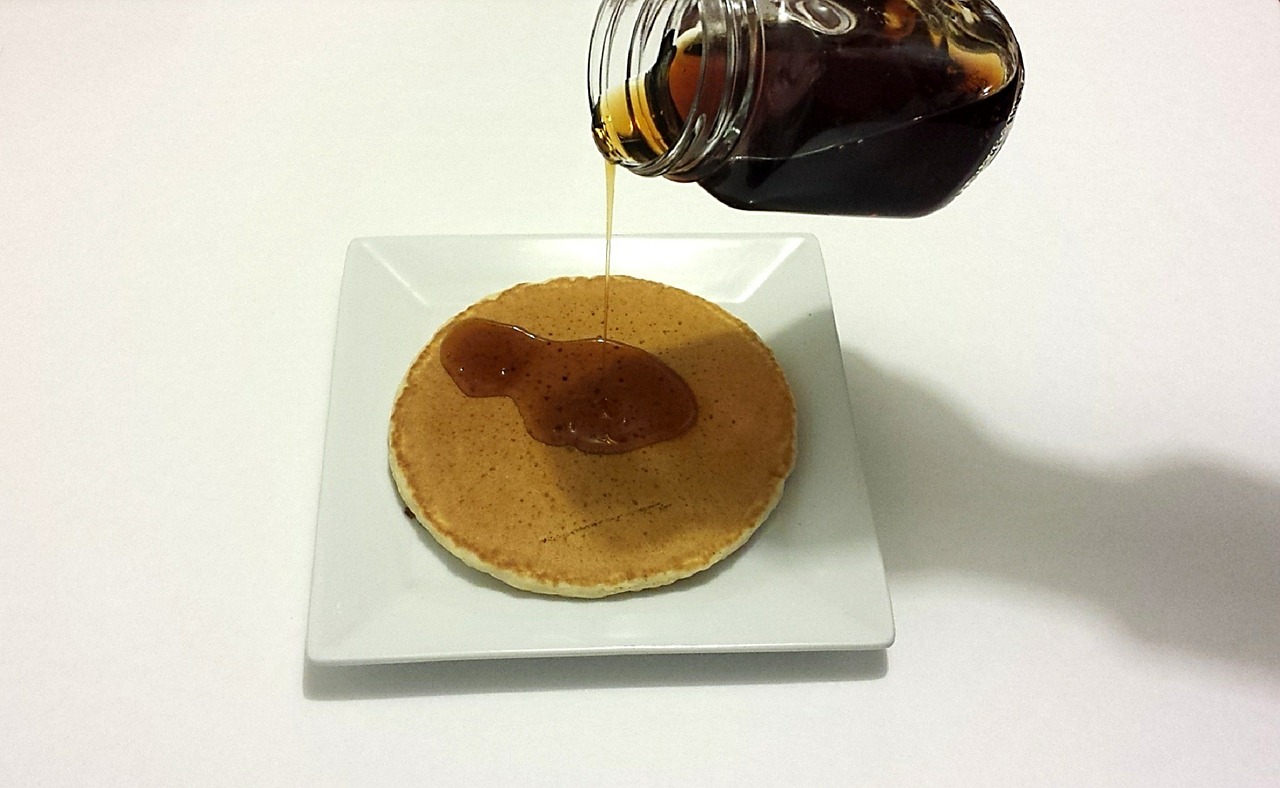
Homemade maple-flavored syrup. Who knew? I ran across this idea in my frugal travels around the internet. It just wasn’t one of the things in my experience database. I don’t remember what we used as a child because I think that pancakes were a rare thing in our house. I do know that, when I grew up, I liked jam on pancakes better than syrup.
My local store carried maple extract in the baking aisle, so I gave it a try. It’s nowhere near the real thing. It tastes fine, easily as good as any of the maple-flavored syrups from the store. (Maybe I’m not the best judge of that, though) It is, however, quick and easy to do and there’s a bit of cost savings, too.
I used brown sugar but if you want a lighter color, use regular white sugar. Most of the recipes I found online used white sugar. One used a combination of white sugar and brown sugar and one used corn syrup as the sweetener. I think any way you do it, it will be good stuff to pour on the pancakes.
2 cups water
4 cups brown sugar
2 teaspoons maple extract
In a non-reactive pan, bring water to a rapid boil.
Mix in brown sugar all at once. Stir until it is completely dissolved.
Remove from heat and stir in maple extract.
Pour into a sterilized jar and allow to stand, at room temperature, for 24 hours.
Store in the refrigerator for up to 6 months.